
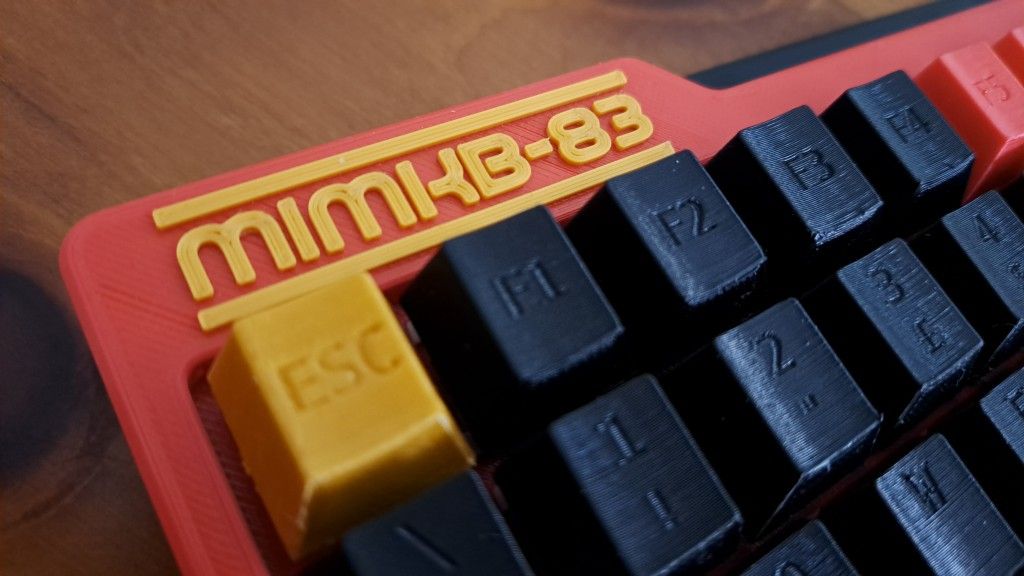
MIMKB-83 - DIY Mechanical Keyboard
This was a challenge lasted almost two months of my spare time. MIMKB-83 is a fully 3D printed DIY ISO 75% handwired mechanical keyboard powered by Raspberry Pi Pico. The project is on GitHub, here I'm just thinking out loud.

The project is on GitHub, check it out! That was a long-lasting trip. I'm aware there's a wonderful and colorful world where keyboard customizers can express their full potential and jump around with joy and happiness... pity it's an ANSI world... with just too tiny, narrow and claustrophobic room for ISO users.
And I'm an ISO layout user... ISO-ITA to be clear. And I won't ever change that, sorry.
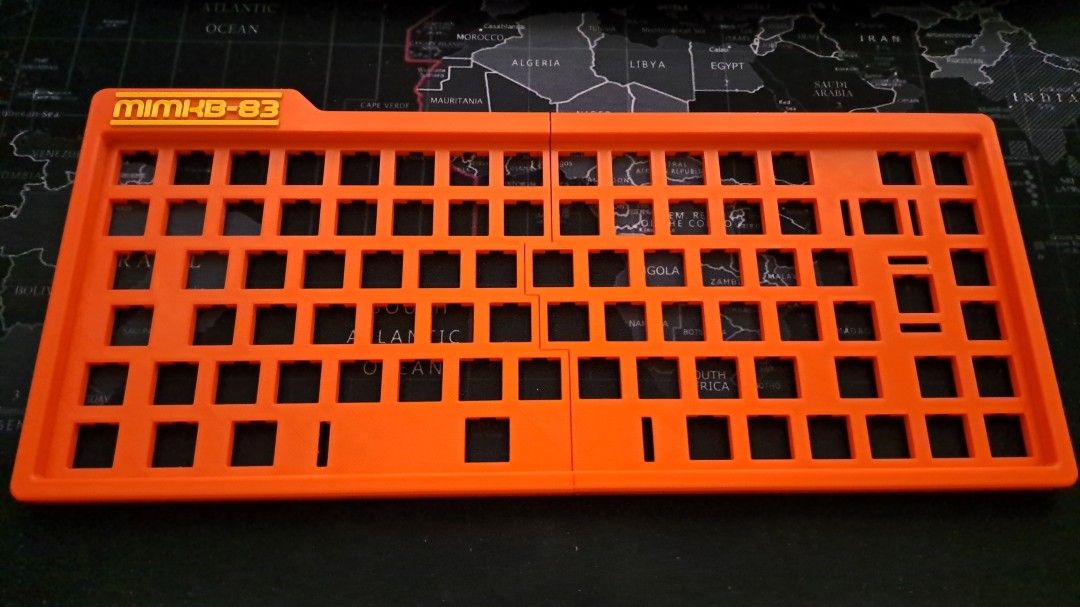
That's why I wanted to make my own keyboard. A small, silent, portable, hackable, customizable keyboard with an ISO layout. Thanks to many other people (credits in the GitHub project) I got my trip shortened a bit, but still a long way to start typing with a smile on my face. Besides the implementation of all the stuff, the trial and error with my honorable Ender 3 v2 3D printer, and the implementation of the firmware, I went through an improvement of my soldering skills because I ran out of tin right in the middle of my soldering process.
F*@k!
That was something that pissed me off a lot, I had a tin coil for backup with a huge filament diameter for such a precise operation, and you can tell how ugly are half of the soldering points inside my prototype. But at least, at the end of the day it worked! The other challenge was to find the right position on the printing bed for the keycaps to obtain a nicely done print, with a good readable label and good adhesion during the printing process. Believe me, I wasted so many grams of PLA... at least I've recycled all those failed caps. But there was one, one single thing that was a pain in the soul, hurting way, way more than a fatty tin filament. The copper wire:
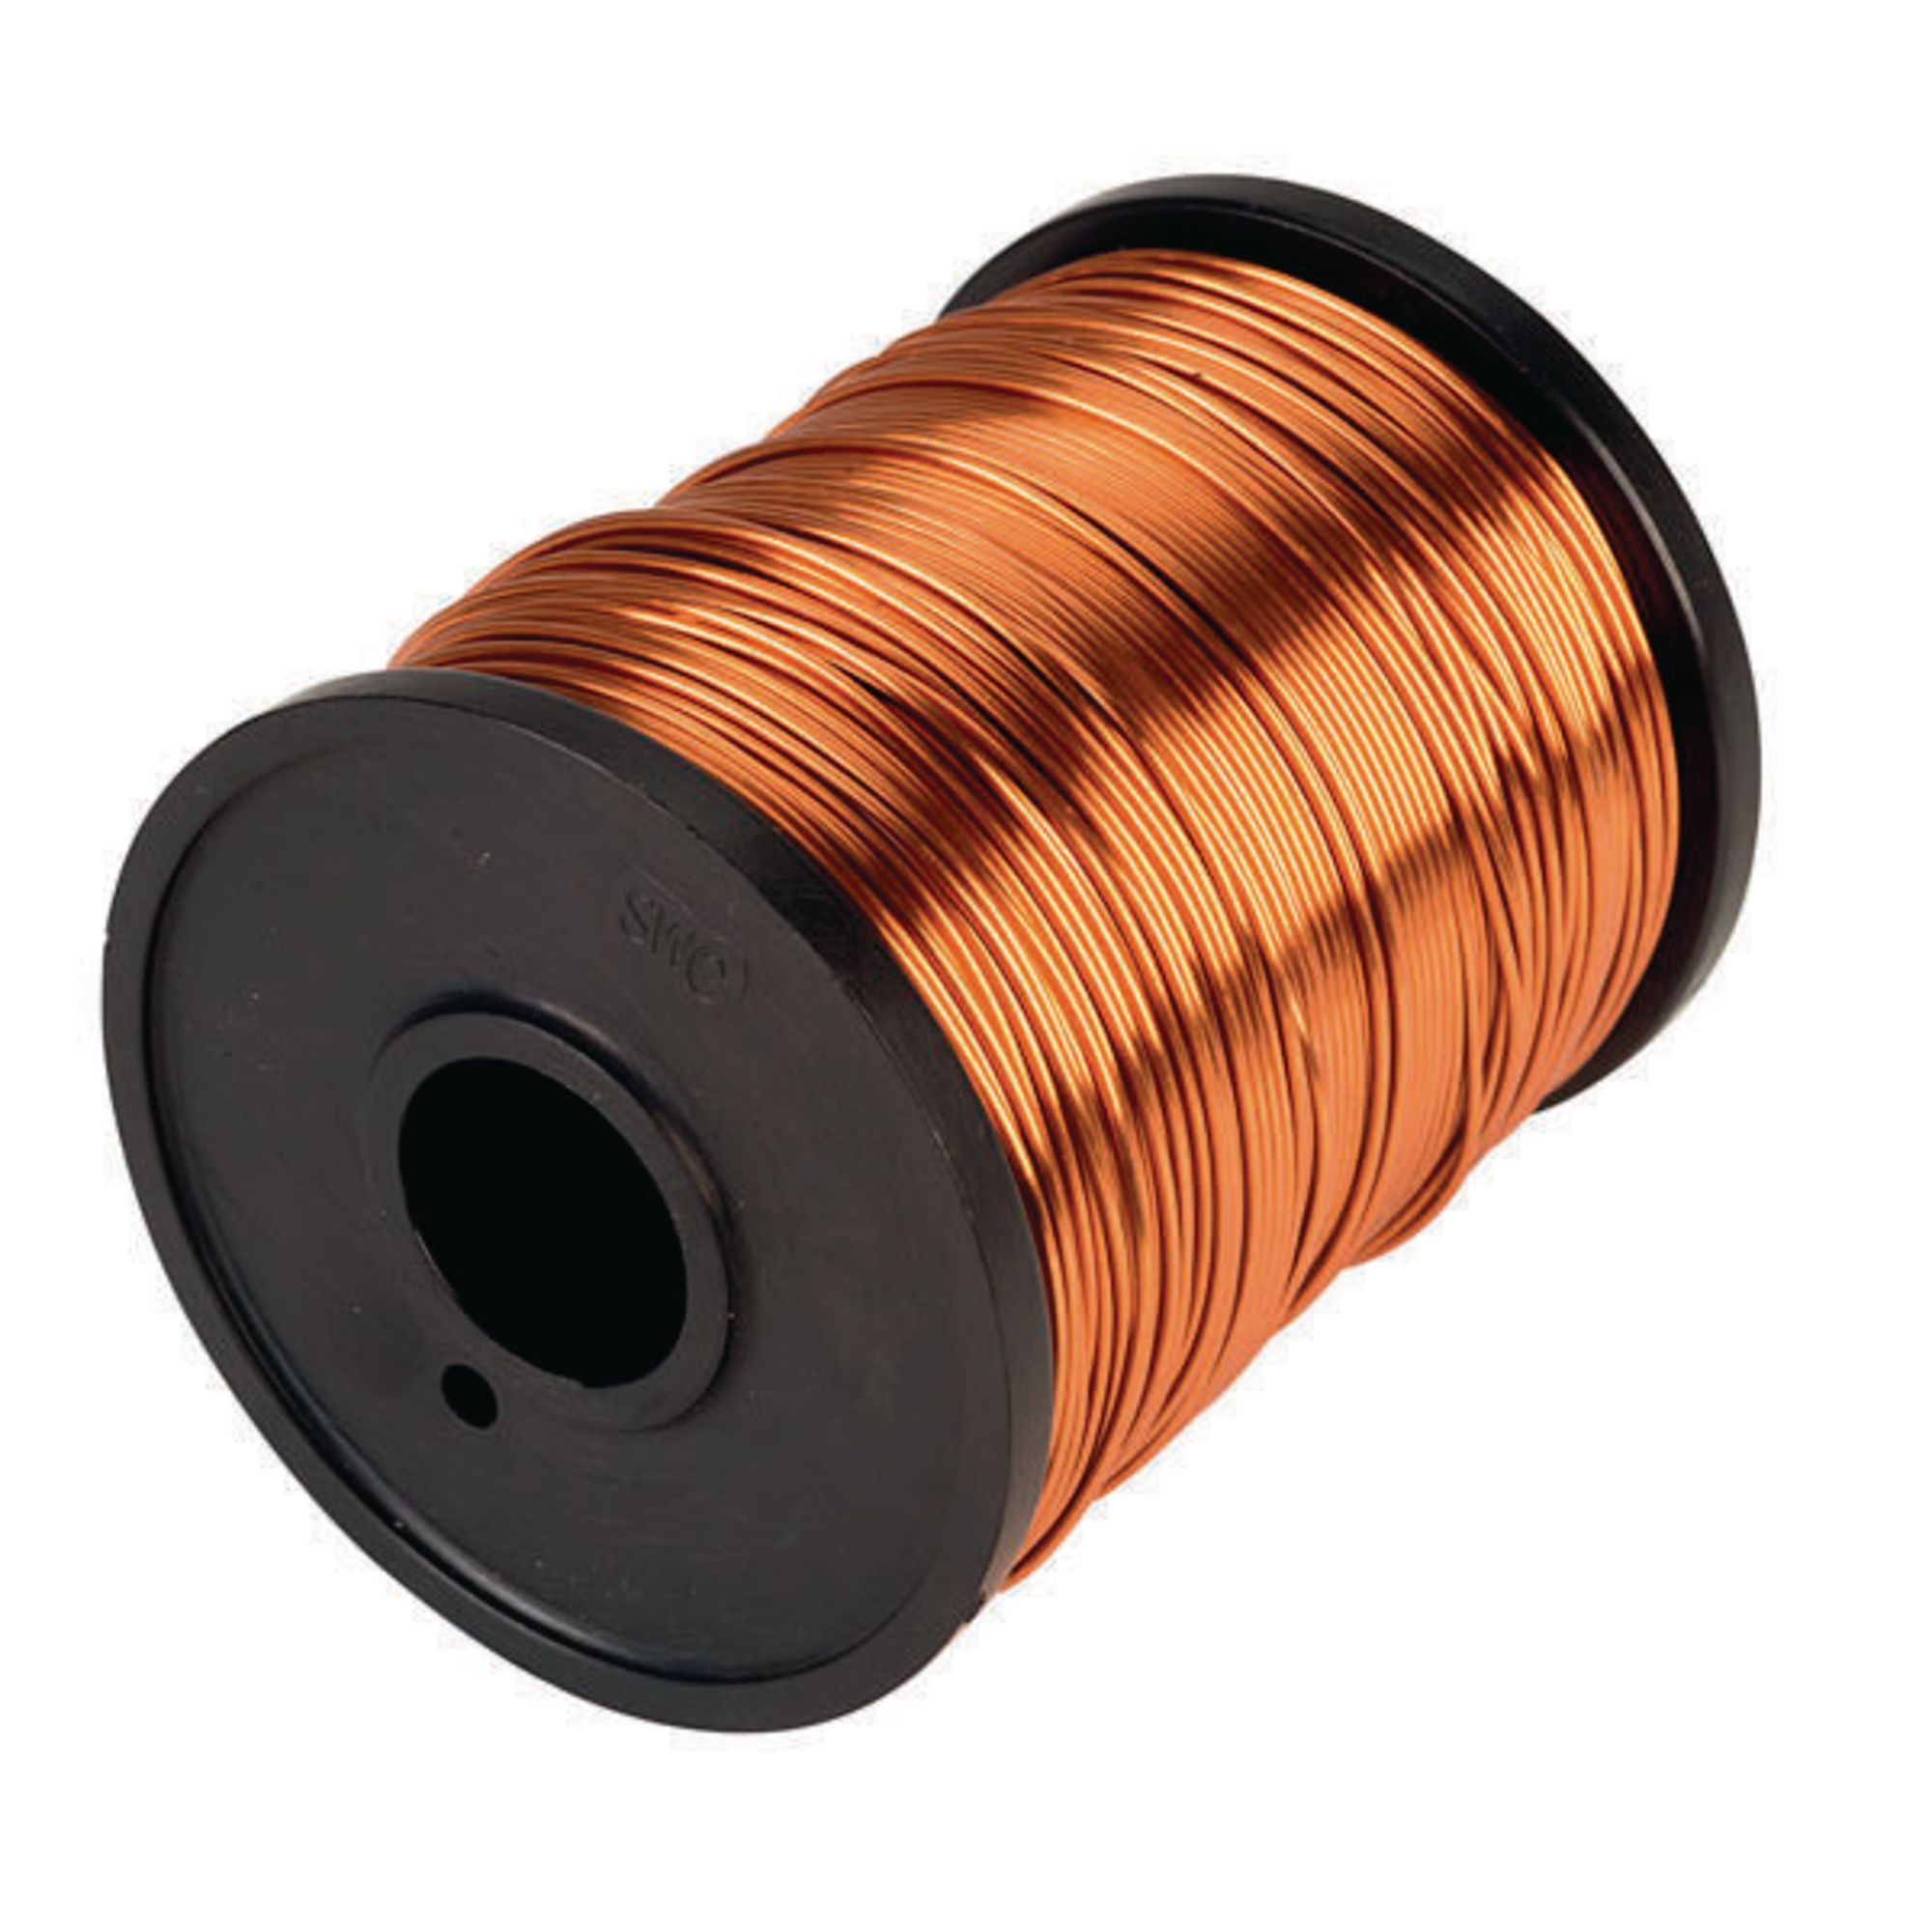
I've used it to wire the columns of the keyboard. It is a conductive wire covered by an isolating coat that you burn with the soldier to make the contact spot. It was the first time I was using it but I really don't know what was going on... I had some problems burning the coating down and I've spent a lot of time fixing some switches that were unresponsive due to conductivity issues. Last but not least, I wasted something like 40 days waiting for the Costar stabs to arrive, which I hate. They work okay but they're so annoying to be assembled. I had to lube them with some Krytox GPL 205 and now the keyboard works great, sounds great and THOCKS! >_